Difference between revisions of "How to use the object mask plugin (h2)"
| Line 11: | Line 11: | ||
== Tutorial == | == Tutorial == | ||
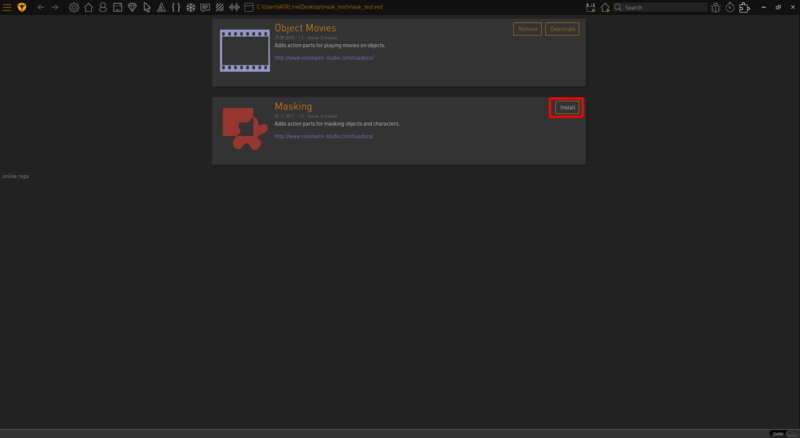
| − | First things first, you will need to add the plugin to your game project. To do this, you will need to click on the plugin [[File:plugin25.png|25px|link=]] button.<br />Next click on the install button & it should | + | First things first, you will need to add the plugin to your game project. To do this, you will need to click on the plugin [[File:plugin25.png|25px|link=]] button.<br />Next click on the install button & wait for it to install. Once it's done, you should have access to 2 new action parts, but we will talk more about those later on. |
[[File:Mask_plugin_(01).png|800px]] | [[File:Mask_plugin_(01).png|800px]] | ||
| + | |||
| + | Next you should create & import an image or animations that you want to mask. | ||
| + | |||
| + | [[File:Mask_plugin_(02).png|800px]] | ||
| + | |||
| + | Now that you have an image you want to mask, you will need to create an image to use as a mask. Your mask image should comprise of white & alpha transparency. Only the parts of the masked image that overlap white parts in the mask image will be drawn in. | ||
| + | |||
| + | [[File:Mask_plugin_(03).png|800px]] | ||
<html><img src="https://wiki.visionaire-tracker.net/images/a/a8/Pendulum_tutorial_(step_1).gif" width="100%"/></html> | <html><img src="https://wiki.visionaire-tracker.net/images/a/a8/Pendulum_tutorial_(step_1).gif" width="100%"/></html> | ||
Revision as of 15:56, 4 October 2018
| Name | By |
|---|---|
| How to use the object mask plugin (image, action parts) | AFRLme |
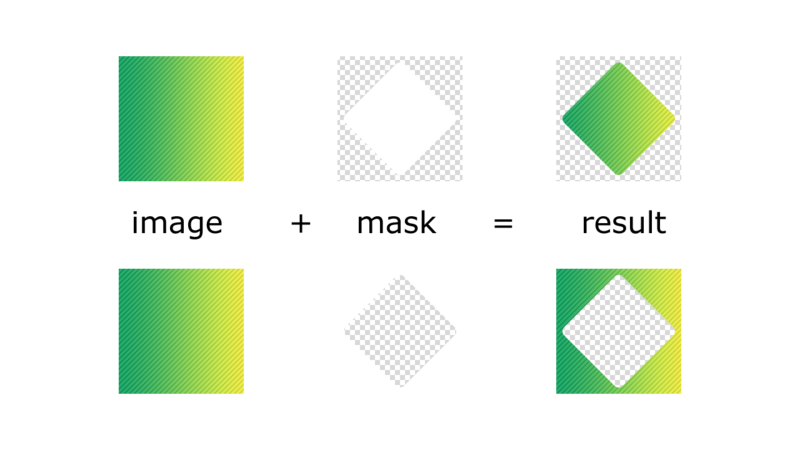
This tutorial will show you how you can use the mask plugin for Visionaire Studio. Masking is process that involves using one image to mask another image, but what exactly is a mask? A mask determines which parts of image you want to mask will be drawn or hidden. Here is a quick example of an image, a mask & the end result.
Tutorial
First things first, you will need to add the plugin to your game project. To do this, you will need to click on the plugin ![]() button.
button.
Next click on the install button & wait for it to install. Once it's done, you should have access to 2 new action parts, but we will talk more about those later on.
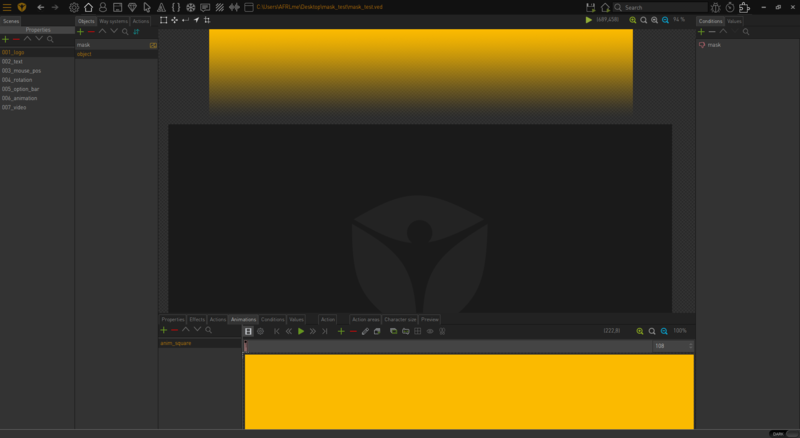
Next you should create & import an image or animations that you want to mask.
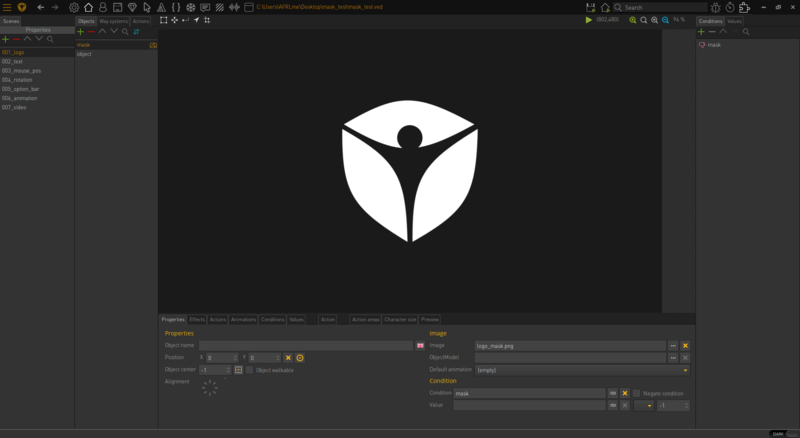
Now that you have an image you want to mask, you will need to create an image to use as a mask. Your mask image should comprise of white & alpha transparency. Only the parts of the masked image that overlap white parts in the mask image will be drawn in.
![]()
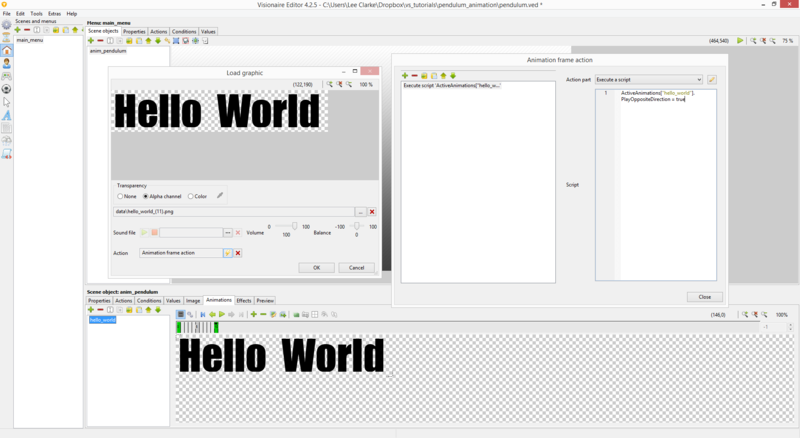
Next you need to select the first frame & then click on the edit button to open up the properties tab & then you need to click on the edit icon ( ![]() ), then you need to click on the create actions icon (
), then you need to click on the create actions icon ( ![]() ) & then you need to create an execute a script action, which should contain something along the lines of this...
) & then you need to create an execute a script action, which should contain something along the lines of this...
ActiveAnimations["animation_name"].PlayOppositeDirection = false -- play animation forwards
![]()
& now you need to do the same again for the last frame of the animation except the code you add should look something along the lines of...
ActiveAnimations["animation_name"].PlayOppositeDirection = true -- play animation in reverse
| Quick note: "animation_name" should be replaced with the actual name of the animation & remember the animation name is case sensitive. |
Reference Video
Resources
| Name | Description |
|---|---|
| pendulum_animation.zip | A working .ved file, complete with resources. Check out the readme.txt file for instructions. |
