Difference between revisions of "Lip sync"
| Line 6: | Line 6: | ||
|} | |} | ||
| − | This tutorial will show you how | + | This tutorial will show you how to setup [https://github.com/DanielSWolf/rhubarb-lip-sync Rhubarb Lip Sync], how to generate lip sync files from an audio recording containing speech, & how to make your talk animations lip sync ready. |
| − | + | == Tutorial == | |
| − | + | === Windows === | |
| − | + | First things first, you will need to download the latest version of Rhubarb Lip Sync. You can find it [https://github.com/DanielSWolf/rhubarb-lip-sync/releases here]. | |
| − | |||
| − | |||
| − | + | Once you have downloaded the latest version of Rhubarb, you should navigate to '''c:/program files''' & create a new folder. Rename the new folder '''rhubarb'''. Now open up the zip file containing the latest version of Rhubarb & drag the contents into the '''rhubarb''' folder you just created. | |
| − | |||
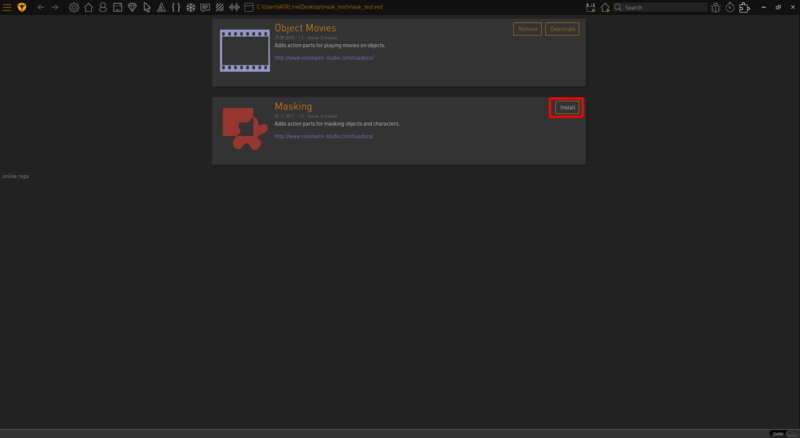
[[File:Mask_plugin_(01).png|800px]] | [[File:Mask_plugin_(01).png|800px]] | ||
Revision as of 18:56, 12 October 2018
| Name | By |
|---|---|
| How to generate lip sync files with Rhubarb Lip Sync & use them in Visionaire Studio (animation, tsv files) | AFRLme |
This tutorial will show you how to setup Rhubarb Lip Sync, how to generate lip sync files from an audio recording containing speech, & how to make your talk animations lip sync ready.
Tutorial
Windows
First things first, you will need to download the latest version of Rhubarb Lip Sync. You can find it here.
Once you have downloaded the latest version of Rhubarb, you should navigate to c:/program files & create a new folder. Rename the new folder rhubarb. Now open up the zip file containing the latest version of Rhubarb & drag the contents into the rhubarb folder you just created.
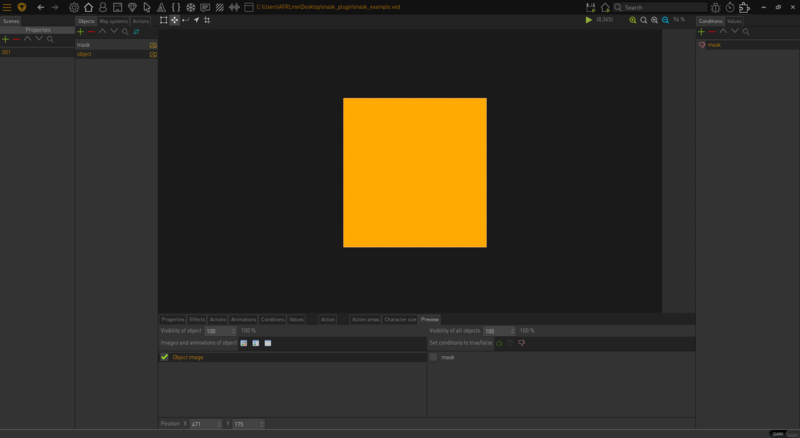
Next you should create & import an image or animation that you want to mask.
| Quick note: alpha transparency needs to be present in both the image/animation that you want to mask & the image that you will be using as the mask. If you are using a simple shape for the image, such as a square or rectangle, make sure you extend the canvas on all sides by a couple of pixels or so & that the canvas background is transparent. This seems to prevent any strange drawing behaviors when the engine calculates which parts of the masked image to draw in. |
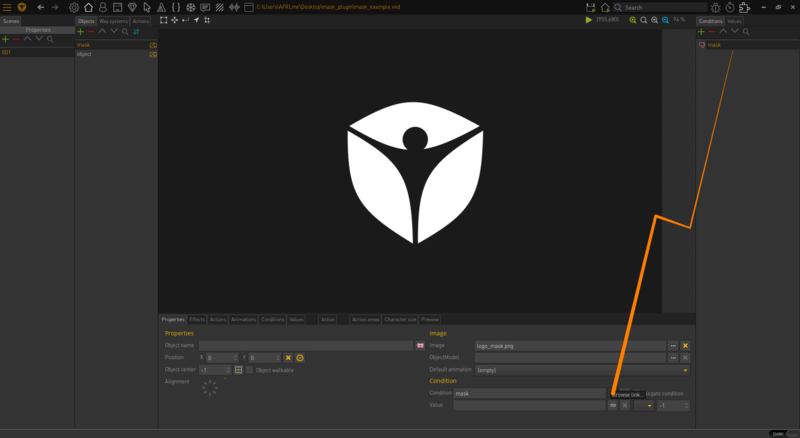
Now that you have an image you want to mask, you will need to create an image to use as a mask. Your mask image should comprise of white & alpha transparency. Only the parts of the masked image that overlap the white parts of the mask image will be drawn in.
Now create a new scene condition & name it something along the lines of mask - it doesn't actually matter what you call it - then link the condition to the properties section of the mask object. The condition will be used to hide the mask object, as we do not actually need to see the mask image in-game to be able to mask another image.
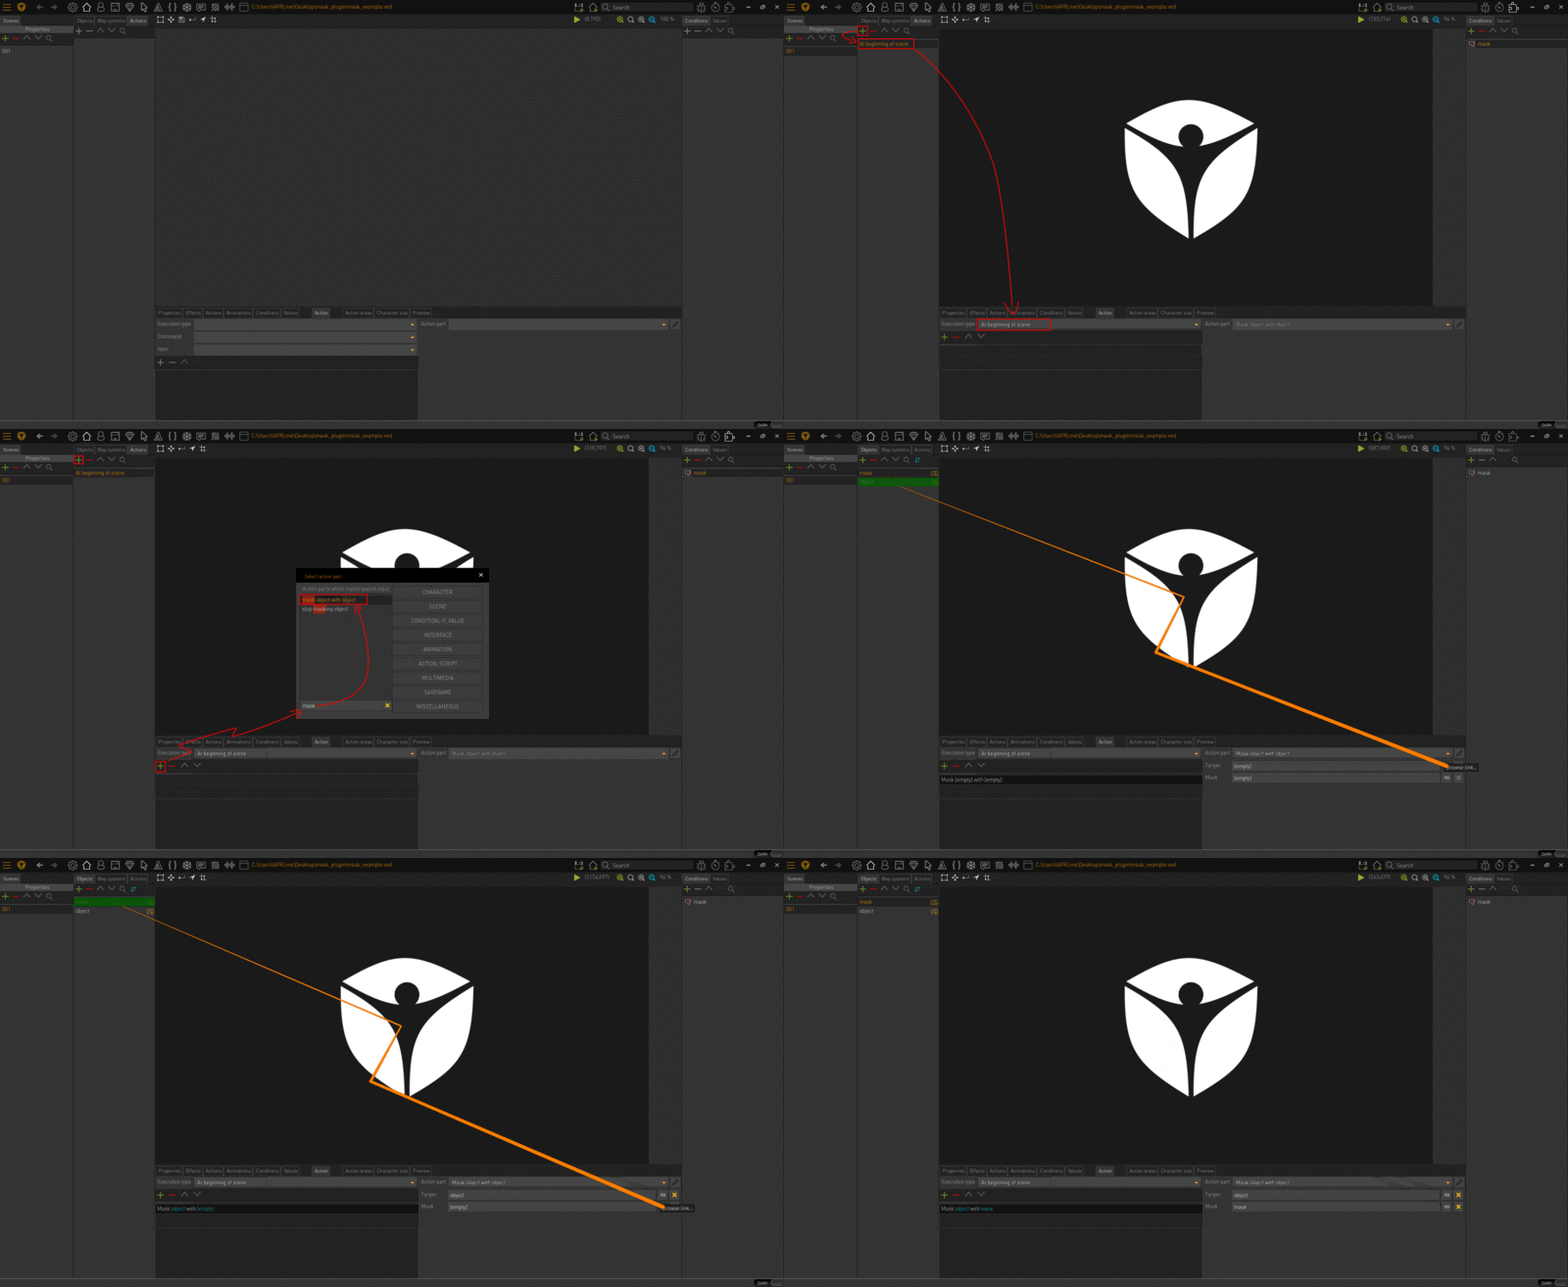
The final step is to use the start mask on object action part that will allow you to specify the target (object, scene, or character) & the scene object that contains the mask. To make things simple, let's just apply the mask as soon as the scene loads.
Click on the scene actions tab then click on the ![]() button to create a new action. Set the action type as at beginning of scene & then click on the
button to create a new action. Set the action type as at beginning of scene & then click on the ![]() button. Type "mask" into the search bar at the bottom of the action part selection modal. Select the mask object with object action part. Now link object to the scene object containing the image/animation you want to mask, then link mask to the scene object containing the image you want to use as the mask. Voila.
button. Type "mask" into the search bar at the bottom of the action part selection modal. Select the mask object with object action part. Now link object to the scene object containing the image/animation you want to mask, then link mask to the scene object containing the image you want to use as the mask. Voila.
Reference Video
Resources
| Name | Description |
|---|---|
| mask_example.zip | A working .ved file, complete with resources. Check out the readme.txt file for instructions. |


