Image Encoding
We recommend using the .png image format with Visionaire Studio, or the .webp image format. For the best optimization, we recommend using .webp due to the better compression & overall smaller file-sizes, which range from about 10-75% reduction depending on the export settings you use.
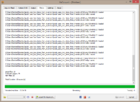
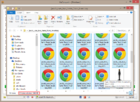
The only downside to the .webP format is that you will have to keep your original image files handy as they are not supported by the large majority of image editing applications. Also the only way to preview them outside of Visionaire Studio is by opening them in web browsers such as Chrome or in special applications.
| Quick note: depending on the settings used for your .png file in your image/3D application, your png image files might not display correctly in Visionaire Studio. For instance in Adobe Photoshop, the recommended settings are: color mode: rgb color > 8 bit & background contents: transparent. |
| PNG | WEBP |
|---|---|
|
|
Tools
We recommend using XnConvert by XnView, which is a really awesome freeware batch image processor/converter, that comes with loads of macro actions & support for lots of different image formats including webP. Export/Conversion is fairly quick, whether you drag in an entire folder, multiple files or a single file.
Converting Images to webP
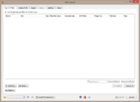
1. Open up XnConvert.
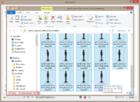
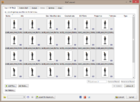
2. Drag in a folder, multiple files or a single file into the input tab.
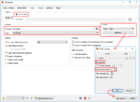
3. Change to the output tab.
4. Set output to source folder.
5. Set filename as {Filename} & case to no change.
6. Set format to WEBP - WebP then click settings button...
7. Click on lossless radio button.
8. Set Compression method to 6.
9. Leave rest of settings as they are & click ok.
10. Now press the convert button, sit back & relax for a second.
11. Rinse & repeat with any other files you need to convert.
| Quick note: XnConvert remembers your last used settings each time you open it up, so you only need to do steps 3 to 9 the first time you use the program. |
|