Menu 101 (h2) - condition based menu buttons
| Name | Topic | By |
|---|---|---|
| Menu_01_(a) | Condition based menu buttons | AFRLme |
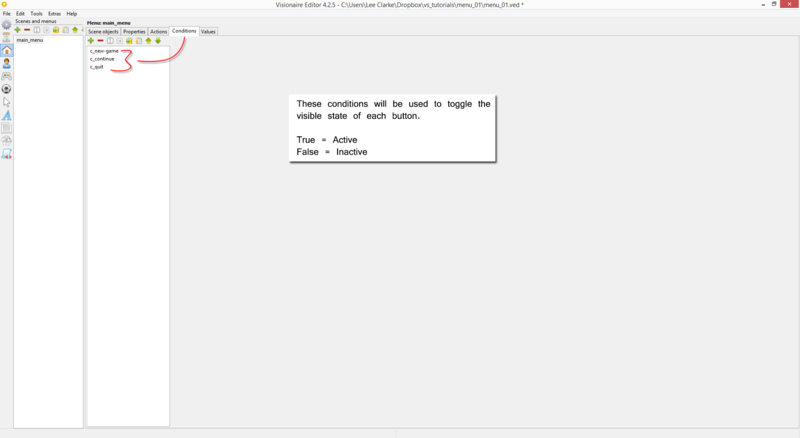
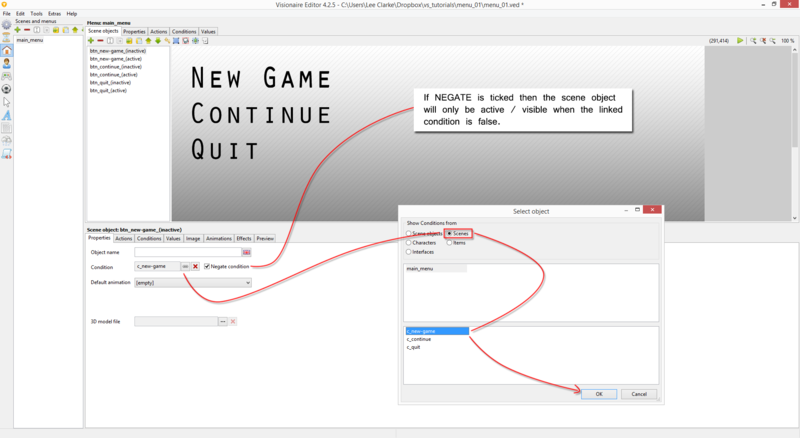
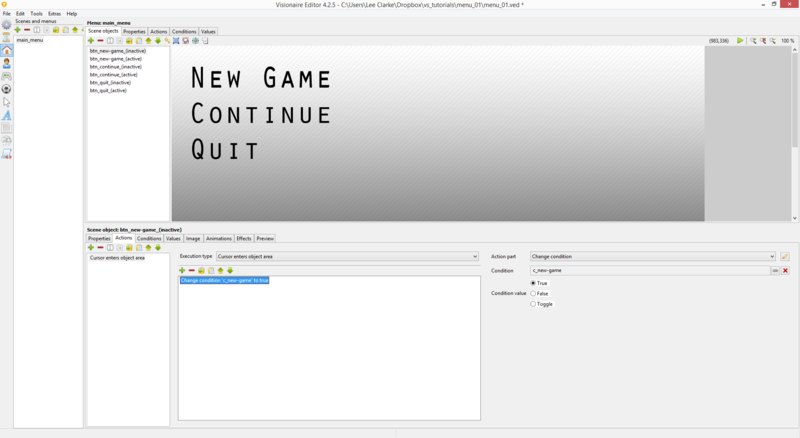
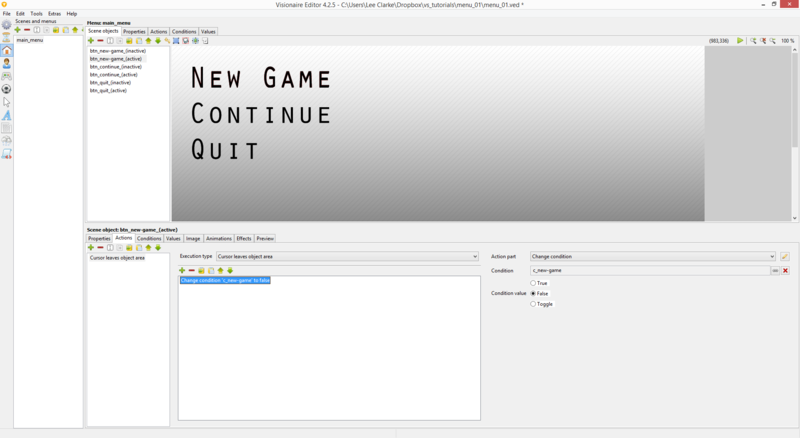
This tutorial is to show you how to create condition based button states by combining multiple images / scene objects with conditions. Personally I don't believe this is the best approach to sorting out your menu buttons as it requires multiple scene objects per button.
Tutorial
1. Begin by creating a new menu scene.
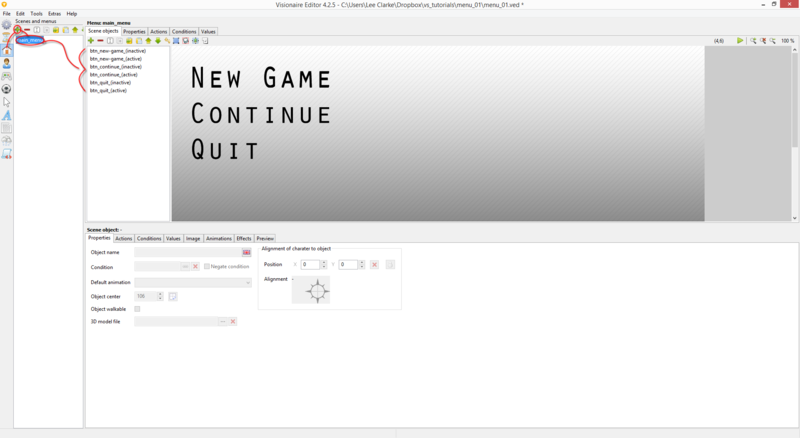
2. Next you want to start creating some new scene objects (2 per button. One for active state & one for inactive state). Don't forget to rename the scene objects to something appropriate
| Quick tip: Create a temp background image of what the menu / scene should look like when all the elements have been added to it. Set this as your scene background to help you reposition all of the scenes images / animations easier. Replace this background with the actual final version of the background when you have finished. |
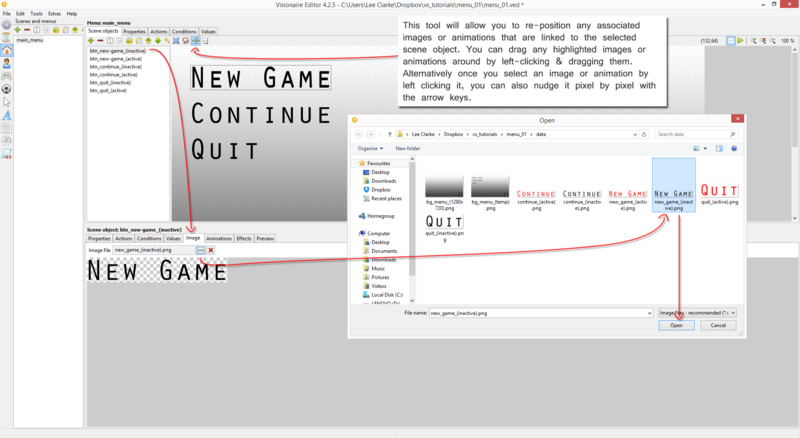
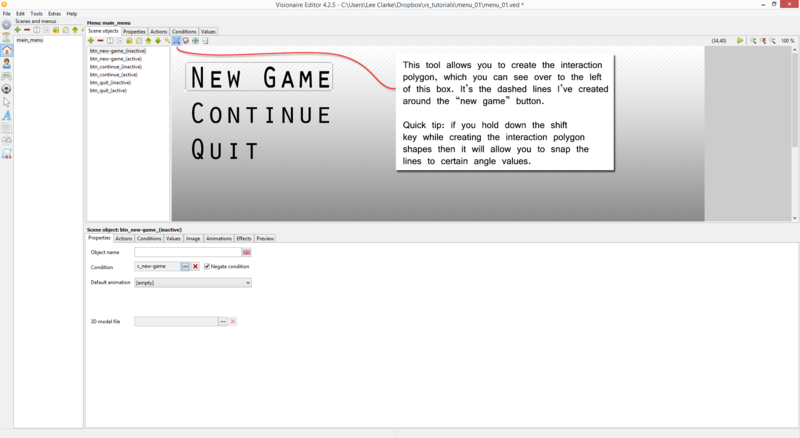
3. Select one of the scene objects you just created, browse to the image tab & link the relevant image to the scene object. Next click on the reposition image tool (shown in the image below) & reposition the image associated with the selected scene object to where you want it to be displayed in the menu scene.
| Quick tip: After left clicking on an image or animation you can use the arrow keys on your keyboard for precision nudging, which is a lot easier to correctly position images / animations, than with the mouse alone. |
Reference Video
Resources
| Name | Description |
|---|---|
| menu_01_(a).zip | A working example of the tutorial in action. Visionaire Studio 4.2.5+ required to run the included .ved file. |
