Difference between revisions of "Hotspots (h2)"
m (Text replacement - "{{toc}}" to "") |
|||
| Line 45: | Line 45: | ||
| [[media:hotspot_demo.zip|hotspot_demo.zip]] || A working .ved file, complete with resources. Check out the readme.txt file for instructions. | | [[media:hotspot_demo.zip|hotspot_demo.zip]] || A working .ved file, complete with resources. Check out the readme.txt file for instructions. | ||
|} | |} | ||
| − | |||
Revision as of 14:00, 4 November 2014
| Name | By |
|---|---|
| Hotspots (image/animation based) | AFRLme |
This tutorial shows you how to create hotspots (snoop animations) in Visionaire Studio. Hotspots usually consist of images, animations or text that are used to show points of interest in each scene.
Tutorial
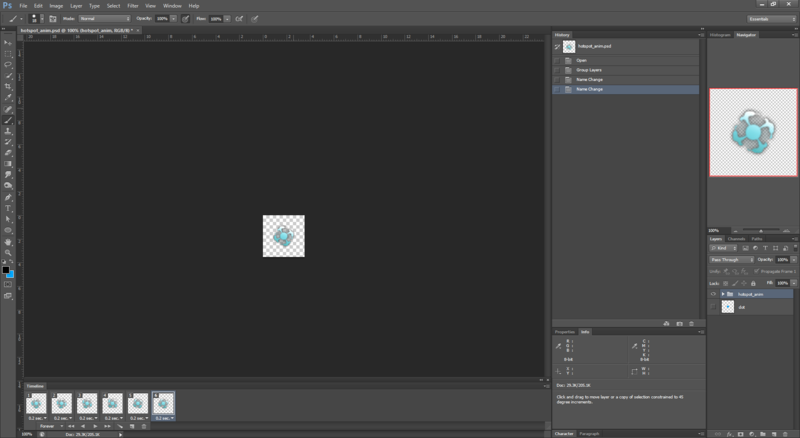
1. First things first: you should create some images/animations via your graphic/3D editing program of choice.
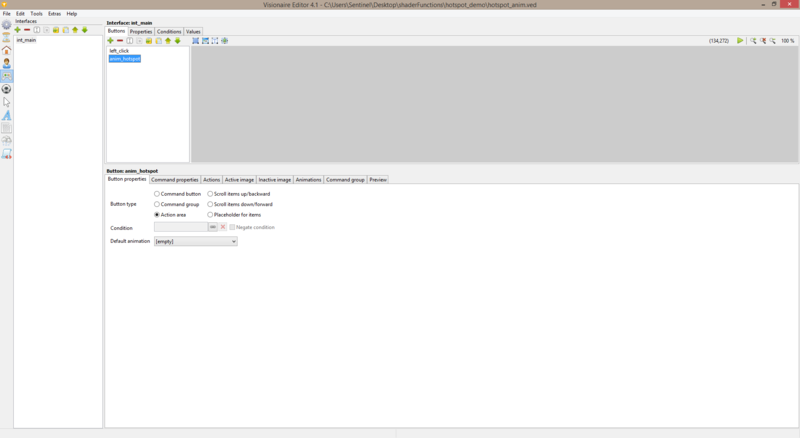
2. Next thing you want to do is create a button inside of one of your interfaces & set the button type to action area.
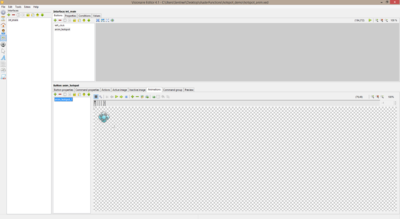
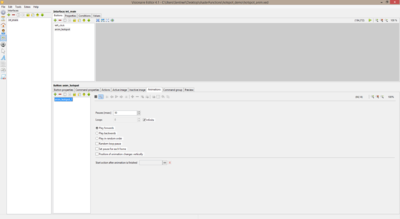
3. Create your hotspot animations inside of this button & adjust properties settings for each animation to suit.
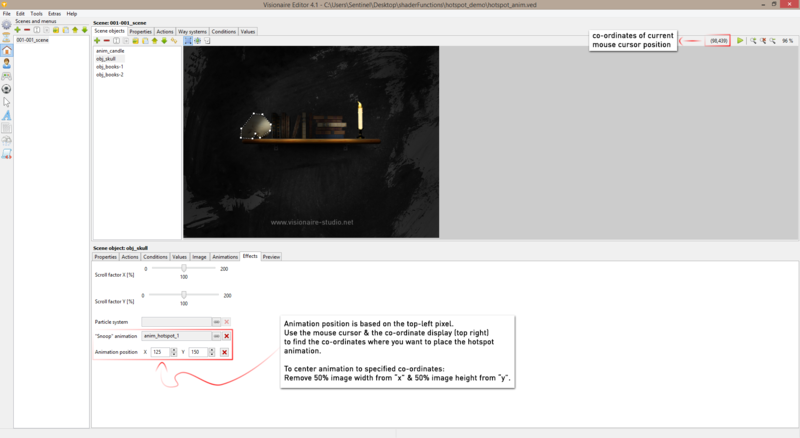
4. Next you need to assign your hotspot animations to each of your scene objects & position them on the screen via the effects tab.
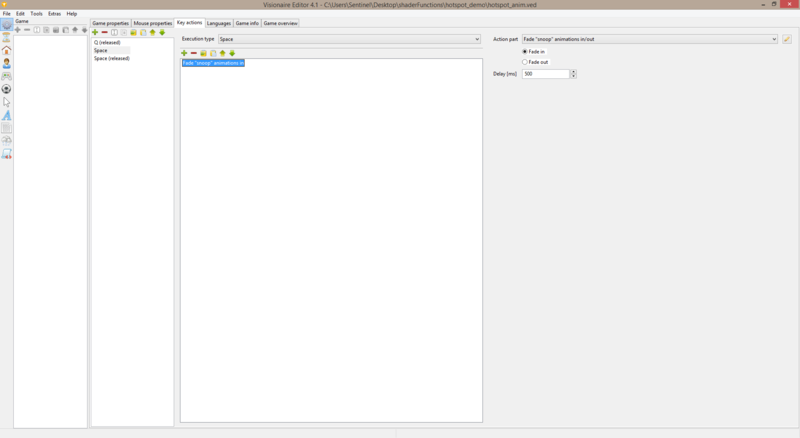
5. Now you need to go to game tab > key actions to sort out the key inputs that will toggle the hotspots animations on/off.
6. Create a space key action & inside of this create a scene > fade "snoop" animations in action part.
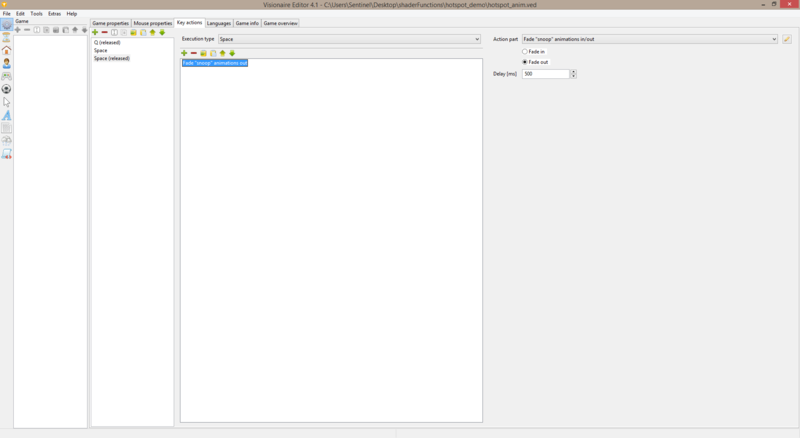
7. Create a space (released) key action & inside of this create a scene > fade "snoop" animations out action part.
8. Now rinse & repeat the process for all the other scene objects that you want to show hotspot animations for.
Resources
| Name | Description |
|---|---|
| hotspot_demo.zip | A working .ved file, complete with resources. Check out the readme.txt file for instructions. |
