Menu 101 (h2) - animation based menu buttons
| Name | Topic | By |
|---|---|---|
| Menu_101_(c) | Animation based menu buttons | AFRLme |
This tutorial is to show you how to create animation based menu buttons by assigning multiple animations to a single scene object - you can use multiple or single frame animations, it's entirely up to you. This method is a lot nicer than the condition based menu button method. -- tutorial & screenshots still needing to be sorted out. Content below is temporary.
Tutorial
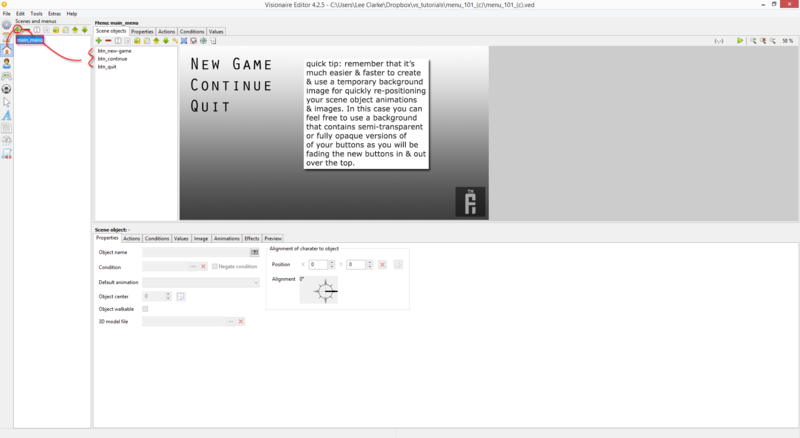
1. Begin by creating a new menu scene.
2. Next you want to start creating some new scene objects (1 per button). Don't forget to rename the scene objects to something appropriate
| Quick tip: Create a temp background image of what the menu / scene should look like when all the elements have been added to it. Set this as your scene background to help you reposition all of the scenes images / animations easier. Replace this background with the actual final version of the background when you have finished. |
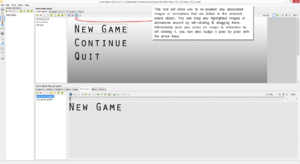
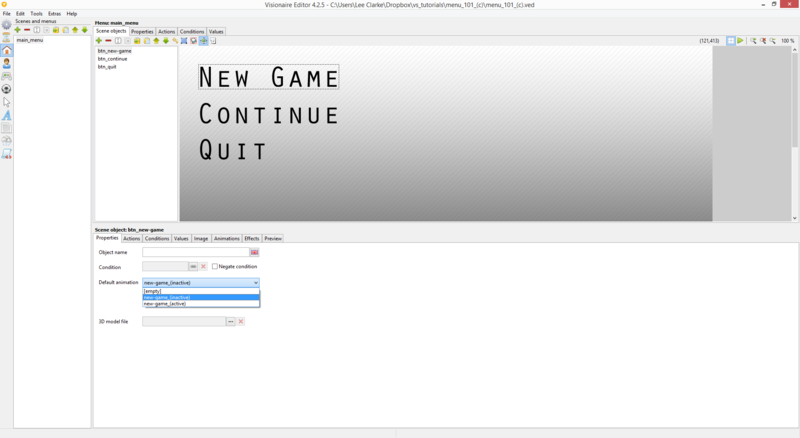
3. Select one of the scene objects you just created, browse to the image tab & link the relevant image to the scene object. Next click on the reposition image tool (shown in the image below) & reposition the image associated with the selected scene object to where you want it to be displayed in the menu scene. Rinse & repeat this with the rest of the scene objects.
| Quick tip: After left clicking on an image or animation you can use the arrow keys on your keyboard for precision nudging, which is a lot easier to correctly position images / animations, than with the mouse alone. |
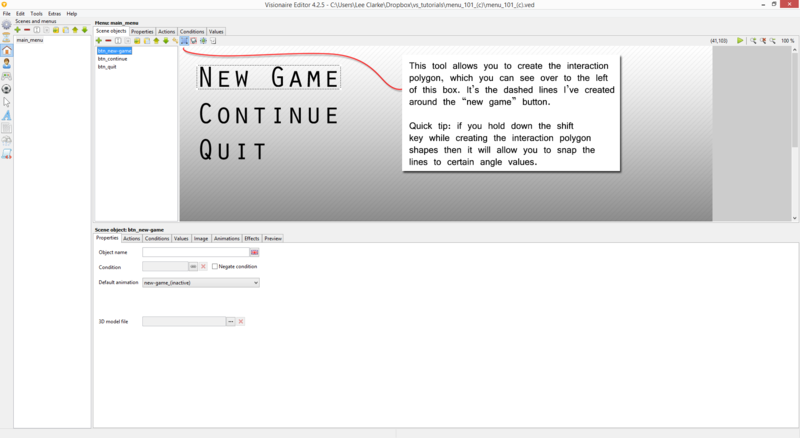
4. Next you will be wanting to create the interaction polygons (object area) for each scene object. Click on the create and edit object areas button on the toolbar & create a polygon shape for each scene object. Try to keep them as simple as possible.
| Quick tip: If you hold down the shift key while creating your object area polygon shapes, then the editor will allow you to snap the lines to various degrees, which makes it a lot easier to draw straight or angled lines. |
5. After you have defined the object area polygons for each button you will be wanting to create some cursor enters object area & cursor leaves object area actions for each object. Inside of the cursor enters object area action you should include a set visibility of object action part & set the visibility [%]' value to 100%. Adjust the delay [ms] value to suit - I set 250ms in my example. Now inside of the cursor leaves object area action, do the same thing, except set the linked objects visibility [%] value to 0. Rinse & repeat these actions for each button that you created. - see (6) for more information regarding the visibility [%] value as the value should be the same as whatever you set in step 6.
6. Finally, you need to define the opacity values of the buttons inside of an at beginning of scene event, so... browse to the scenes action tab & inside of this create an at beginning of scene action & inside of this create (for each button that you created) a set visibility of object... action part & link each one to the relevant scene object. Leave the visibility [%] & delay [ms] values as they are - unless you aren't including the semi-transparent versions of the buttons in the background image that you have set in the properties tab of the menu scene, as you will probably be wanting to set a custom value for the visibility.
Reference Video
Resources
| Name | Description |
|---|---|
| Media:menu_101_(c).zip | A working example of the tutorial in action. Visionaire Studio 4.2.5+ required to run the included .ved file. |
